


Prompt #64 - No backsies!
Sometimes, there’s no undo button

Hi, I‘m Lorena and welcome to The Stress Less Pencil. Together, we create art to make us feel good, not to make it look good. All weekly prompts are designed for total beginners and experienced artists alike, so come join us.

When I first started drawing on an iPad many years ago, I thought the undo function was the most genius thing that had ever happened to me. Messing up - a primal fear when putting pen to paper - was no longer an issue. Try, fail, double tap to undo, try again. I had to commit to nothing. I could try anything, because I could undo everything.
Unfortunately (?), this function doesn't exist in real life. We are faced with a myriad of situations where we need to make a decision that we can't go back on. Take that job? Break up with that person? Have kids now/later/never? We procrastinate, we try to figure out the pros and cons of each option. Sometimes the choice is easy, but often we don't know which decision will yield the best outcome. Maybe all options will lead to happiness, maybe none of them will. It's the multiverse. Sometimes, you just need to choose one thing and commit.

I'm always in awe by people who draw in marker or ink, without sketching in pencil first. Nishant Jaint of The SneakyArt Post, for example, says he enjoys drawing in fountain pen precisely because you can't erase it.
So today, we'll take inspiration from these commit-crazy artists, do a drawing in a medium we can't erase, and practice living (well) with our decisions.
The Activity: Line-drawing in Fountain Pen
If you don't have a fountain pen, a ballpoint or ink roller will do. Or even a felt tip. As long as you can't erase it.
Step 1 - Visualise
Since we won't be sketching in this exercise, we want to spend a good amount of time working out our picture in our mind. What do you want to draw? Choose something you're familiar with, maybe that's plants or stick people, or bubbles, or something more elaborate.
Imagine the page in your mind. What do you want to put on it, what goes where? Now visualise yourself drawing it. Where will you start, what elements need to come before others?
Once you've got it more or less mapped out, proceed to the next step.

Step 2 - Draw it
Take your pen and start drawing. If you're normally a quick-and-dirty sketcher like myself, you want to slow down a bit. Think properly about each line before you draw it. Go through the image as you've mapped it out in your mind. Let go of the fact that it's not perfect. Hey, there's nothing you can do about it anyway ;)
How did it turn out? Better than you expected? Maybe the inevitable imperfections even add a bit of charm to it?
My Example
I went for one of my go to subjects - trees and mountains (thanks, Bob Ross!). But I also wanted to challenge myself a little bit, so I decided to add some buildings as well. Initially, I had planned to do a row of houses - a bit like you often see in illustrations of Amsterdam - then behind it, a row of trees, and mountains in the background.
While I was mapping it out mentally, I also thought it would be nice to also add one tree in the foreground. Hooray for depth.
Here's the result:
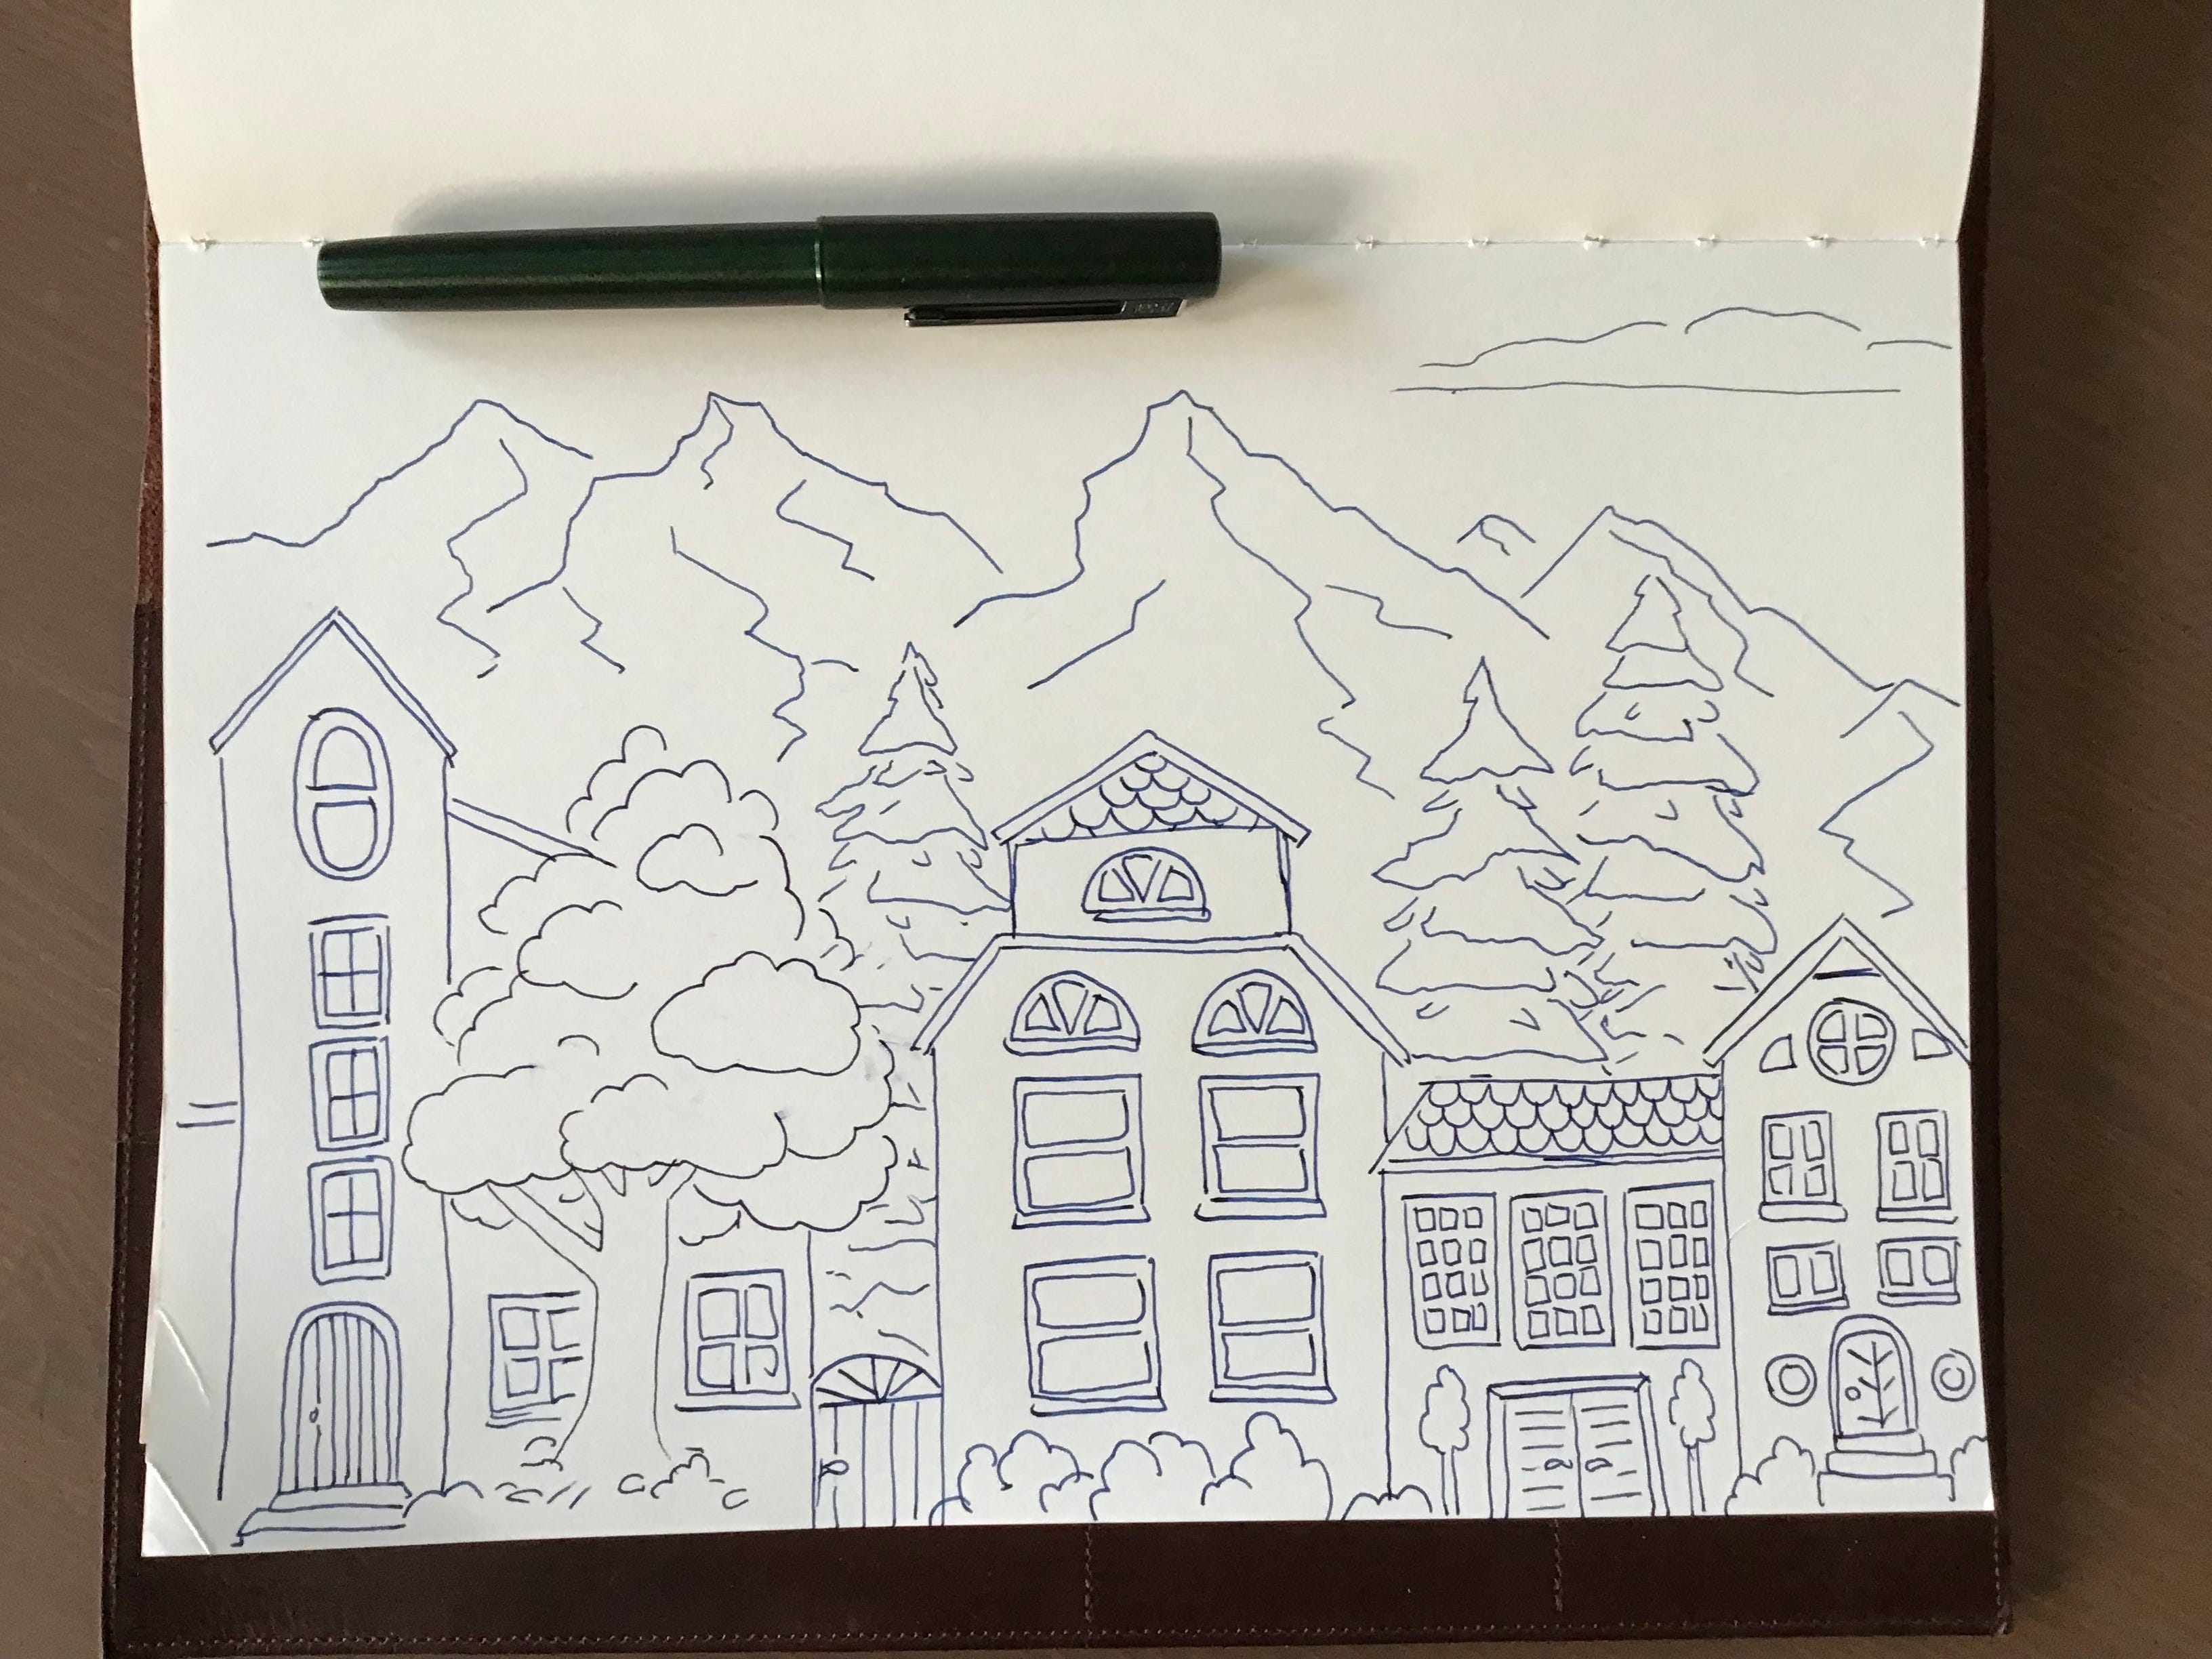
First, some room for the inner critic: The houses turned out bigger than I had envisioned, I didn't do a full row of trees, the mountains have no snow on them, my lines are pretty crooked.
But despite all that, I really like how it turned out. And I have to say, I agree with the artists who say that it's really freeing to know you can't erase what you're drawing.
Have a great week my friends. And if you have to make a difficult choice, just choose to the best of your ability and then commit to it. It'll turn out great!
Love, Lorena